Pre Joint Review Checklist
Pre-Joint Review Checklist
The following is a list of items to verify prior to the Pre-Joint Review Audit. Please be advised that this list is general and does not cover all areas in detail.
- Verify that the application sent to ASME and/or the National Board is correct and addresses the proper Keep a printed copy handy for the Joint Review.
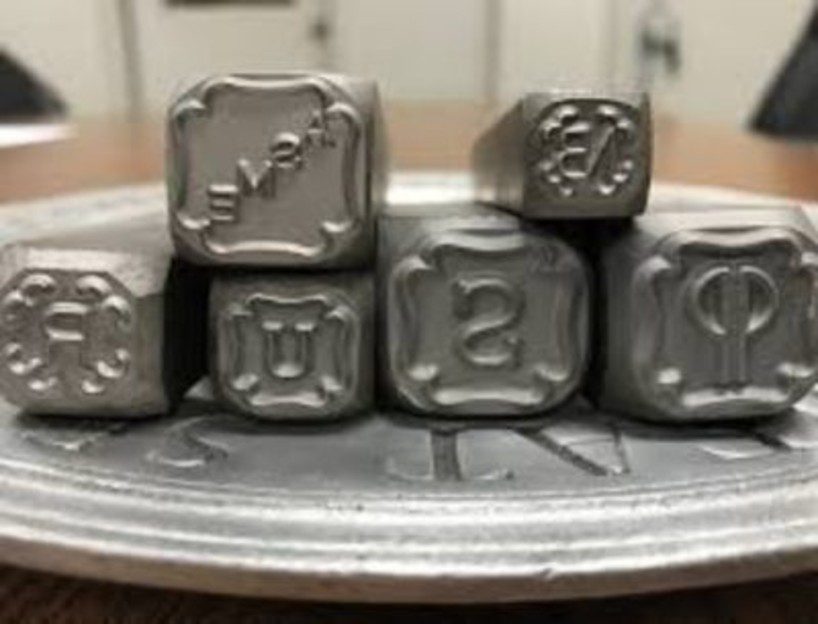
- For renewals, make sure the Certificates of Authorization are available and correct. Also have the Code symbol stamps available for review.
- Verify that all applicable Codebooks are available for review.
- Verify that the Authorized Inspectors Logbook is available, and all activities are documented. Also, for existing companies, verify that Monitoring Activities have been performed and Monitoring Reports are available.
- Review the Quality Control Manual to ensure that it is current with any Code changes. Also, be sure all applicable parties have signed the Quality Control Manual and the personnel-issued controlled copies have the current edition and revision level.
- Be sure that the titles listed on the Organization Chart are the same as those referenced in the Manual body. Also, check to see if the actual exhibits referenced are the same as those being implemented.
- The “Guide for ASME Review Teams” will need to be completed and made available during the Joint Review.
- Verify that the appropriate Drawings are available, and as a minimum, all information as required by the Quality Control Manual is referenced. Also, verify that the appropriate personnel has approved the Drawings.
- Verify that Calculations are available for all aspects of design, including supports, lift lugs, reinforcement, etc. Review all design information for correctness such as joint efficiency, corrosion allowance, proper material and stress values, impact test or exemptions, year of Code and addenda designed to, etc. Be sure that all information referenced on the Calculations matches that referenced on the Drawings. As mentioned in item #7, verify appropriate personnel approval.
- If computer programs are used for design, documentation must be available from Engineering verifying the computer program’s accuracy.
- All documents and their revisions must be issued and controlled as required by the Quality Control Manual. If there is an exhibit for this, be sure it is being implemented.
- Verify that a Bill of Material and Purchase Orders are available for all. Also verify that all ordering information is addressed, such as “SA” material, forming requirements, the requirement of material test reports, proper Thickness and dimensions, etc.
- Verify that all material is received and documented as required by the Quality Control Manual. Sometimes this is performed by Receiving Reports or by documenting receipt on the Purchase Order or Bill of Material. Regardless, it must be in accordance with the Quality Control Manual.
- Verify that all Material Test Reports have been reviewed to verify Section II’s compliance and the appropriate personnel acceptance has been documented.
- Verify that the appropriate personnel have signed off the Travelers at the completion of each inspection activity. The Traveler must show Authorized Inspector notification prior to the start of fabrication. Do not sign off on an activity if it has not been completed. For example: If there are welds that are not completed, then welder symbols should not be signed off on the Traveler.
- A sample Manufacturer’s Data Report should be completed for the demonstration item.
- Check to see if there are any non-conformances and that the proper forms and procedures are being implemented.
- Verify that all appropriate Welding Procedure Specifications (WPS), Welding procedure Qualification Records (PQR) and Welder/Welding Operator Qualification Records (WPQ/WOPQ) are available. Be sure that the PQR and WPQ/WOPQ forms are certified. Also verify that the WPS numbers are correct on the Drawing. It is critical to make sure that all ranges of qualifications are correct for the processes. For example, thickness, material, diameter, position, etc. QW-250 and QW-350 of Section IX list all variables, and these must be addressed on the QW-482, 483 and 484 forms.
- Verify that the Welder Continuity Log is up to date and verifies compliance to QW-322 of Section IX.
- Verify that all welding materials are being stored in accordance with the filler metal manufacturer’s recommendations. Also, be sure that all welding material is properly identified, and the proper filler metal and gas is being used.
- The NDE subcontractors Written Practice, Procedures and Personnel Qualification and Eye Examination Records will need to be available and up to date.
- A Level III appointment and acceptance letter will need to be available for the Level III acting on behalf of the company.
- A calibrated Density as a minimum will need to be available. The Density Strip must have been calibrated within the last year. Also, a film viewer will need to be available during the Joint Review.
- All NDE procedures that are used on Code work must be demonstrated to the Authorized Inspector. This must be documented on the procedure, separate form, logbook, etc.
- If heat treatment is to be performed, verify that the furnace recording equipment calibration records are available.
- Verify that all measuring and test equipment is calibrated, and records are available. In addition to test gauges, a set of micrometers/calipers and weld gauges should be available.
- If the Quality Control Manual references a hydrostatic test procedure, then the procedure will need to be available for review.
- For renewals, records must be available for review as required by the Record Retention section of the Quality Control Manual.
- Suppose the company has been registering Manufacturer’s Data Reports with the National Board. In that case, it is especially important to verify that the National Board Log is up to date and registration complies with NB-211 of the National Board. This also applies if the company has an “R” stamp and is registering “R” forms.
- If the company is also applying for a “UM” Certificate of Authorization, verify that all information and certification records are available for the companies “Certified Individual”.
- It is essential to verify that all Code items are correctly identified with the Job/Serial number, proper material identification, welder symbols, etc. Also, all temporary and non-pressure attachments must maintain identification.
- Verify that the joint design and dimensions are the same as the Drawing is referencing. For example: If the Drawing references welding from one side only, then there should be no back welding. If the Drawing references a nozzle to be flush then there should be no inside projection.
- If there is any non-conforming item, verify that a Non-Conformance Report is filled out and the item is properly identified. There is no problem having a non- conformance during a Joint Review as long as the Quality Control Manual procedures are followed.
Leave a comment
We use Facebook comment plugin for everyone’s online safety and trust.
